How to Address an Envelope: Everything You Need to Know
Envelopes may seem like a thing of the past, especially with modern innovations like email, text messaging, and other communication applications. While it’s true that people don’t send envelopes to each other as much anymore, there’s still a time and a place for them.
Some examples include sending someone a holiday card with a quirky message or even sending someone a letter. Plus, you’ll find that many of the principles that come into play when addressing an envelope apply to other mediums as well.
For these reasons, we recommend sticking around for a bit because in this guide, we cover how to address an envelope. Read on to learn more.
How to Address an Envelope
If you want to address an envelope properly, there are a few steps you can take to ensure that you do so properly. Thankfully, this can be summed up in four quick steps.
We take you through these steps below.
1. Make Sure You Have the Correct Information
The most important part of addressing an envelope is ensuring that you have the correct information. This involves having the right name, street address, town, state, and even zip code. While you can look them up on Google Maps or run a Google search, the results may not always be accurate.
For this reason, we always recommend running someone’s name or address through an address lookup tool to ensure that everything matches. The best tool for the job tends to be Information.com’s reverse address lookup. Simply input their address to verify that it matches the name, zip code, and additional information.
Once you know their address, you can move on.
2. Write Your Return Address
Now, this part of the process isn’t mandatory. However, that doesn’t mean you should skip out on it. After all, don’t you want your envelope to come back to you if it’s not sent? This way, you can send it out again once you fix any mistakes in it.
Your return address should go in the top left portion of the front of the envelope. You’ll want to write your name at the top, and then your address right beneath it. Then, include the city, state, and zip code.
It should look something like this:
- John Smith
- 12345 Your Street
- Los Angeles, CA, Zip Code
As long as you put this information towards the top left portion of the envelope, you shouldn’t have any problems.
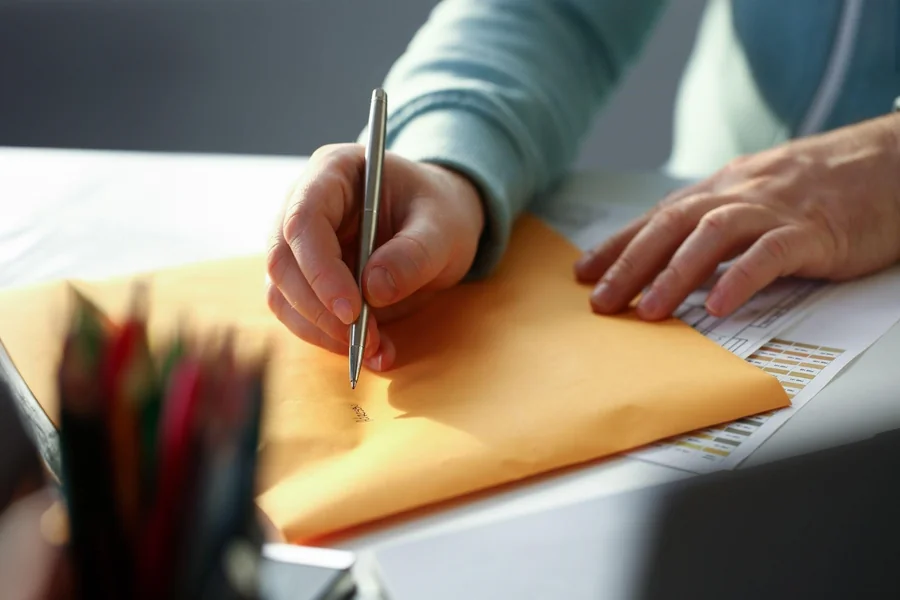
3. Write the Recipient’s Address
When it comes to the recipient’s envelope, you’ll want to write it towards the center of the envelope. You’ll want to follow the same three-line format as the return address, except with the recipient’s information.
Try to leave some space on the right and left sides of the envelope, and don’t crowd the envelope, especially close to where you’ll place the stamp.
It’s also important to note that the process changes slightly for some businesses and government agencies. This is because you may need to include a name and a business name. In these cases, you’ll want to add a fourth line and follow a format like this:
- John Smith
- Name of the Business
- Street Address of the Business
- State, city, and Zip Code of the Business.
As you can see, it’s similar to addressing an envelope for an individual, just with another line.
4. Don’t Forget the Stamp
Last but not least, don’t forget to add the stamp. The stamp should be placed in the top right portion of the envelope, opposite your return address.
Make sure you leave some space between the recipient’s address in the center of the envelope, as well, because if the information is too tight, it can mess with the post office’s process.
Our Final Thoughts on How to Address an Envelope
At the end of the day, you’ll find that addressing an envelope is easy, as long as you don’t overthink it. Your main focus should be on including the receipt’s information towards the center of the envelope, and it also helps if you include a return address, even if it’s not mandatory.
Also, if you’re sending something to a business or government organization, don’t overcomplicate things. Instead of the name, simply use the name of the organization, and if you have to include a name, write it above the name of the business.