How To Apply And Remove American Flag Decals On Fabric
Apparel and items with American flags are no longer a seasonal fashion. Citizens and patriots around the world use these items to promote national pride. Many e-shops and offline stores offer an extensive collection of patriotism-promoting items. Top alternatives are tank tops, flag shirts, athletic apparel, hoodies, polos, t-shirts, and jackets.
People apply American decals to promote patriotism and national pride. They add U.S. flag-infused transfers or decorative stickers on personal items, fabric, or vehicles. These decals are available in peel-and-stick, heat transfer vinyl (HTV), and iron-on patches. Anyone can apply these decals on their items, but erroneous installations can damage stickers.
The following are tips to observe when applying and removing American flag decals on fabric.
Appropriate American Flag Decal Application Steps
Do you seek to demonstrate your patriotism on your personal or commercial fabric? Appropriate American flag decal applications can transform the experience. You can make your items stand out in aesthetics and accuracy. Observe the following steps to fit the decals in the best positions for optimal appeal.
1. Choose the Appropriate Decal Type
Several decal types exist, serving diverse needs and applications. The best American flag decal depends on the material and the expected durability. Heat transfer vinyl (HTV) is the real deal for long-standing applications. Users must press the stickers with heat-generating machines to reinforce the adhesion.
Iron-on patches are sturdy and durable but require heating to remove. In many instances, iron-on patches leave undesirable residues after removal. Peel-and-stick decals are alternative solutions for temporary applications. Users can remove these decals without leaving residues or damaging the fabric. Choose the correct decal depending on fabric type and anticipated washing frequency.
2. Prepare the Target Fabric
The American flag decal sits on the fabric, offering a visually impressive demonstration of patriotism. However, applying the decal on unclean or poorly conditioned fabric can influence tackiness. Wash your fabric to remove residues, dirt, and oils that impact proper adhesion. Then, let the fabric dry in the sun for several hours.
After drying the fabric, iron it to remove wrinkles. A well-ironed fabric offers a flat and even surface for seamless decal application. Fabric softeners leave an unimpressive coating that adversely impacts adhesion. Enhance the bonding of the fabric and decal by preheating the fabric.
3. Properly Position the Decal
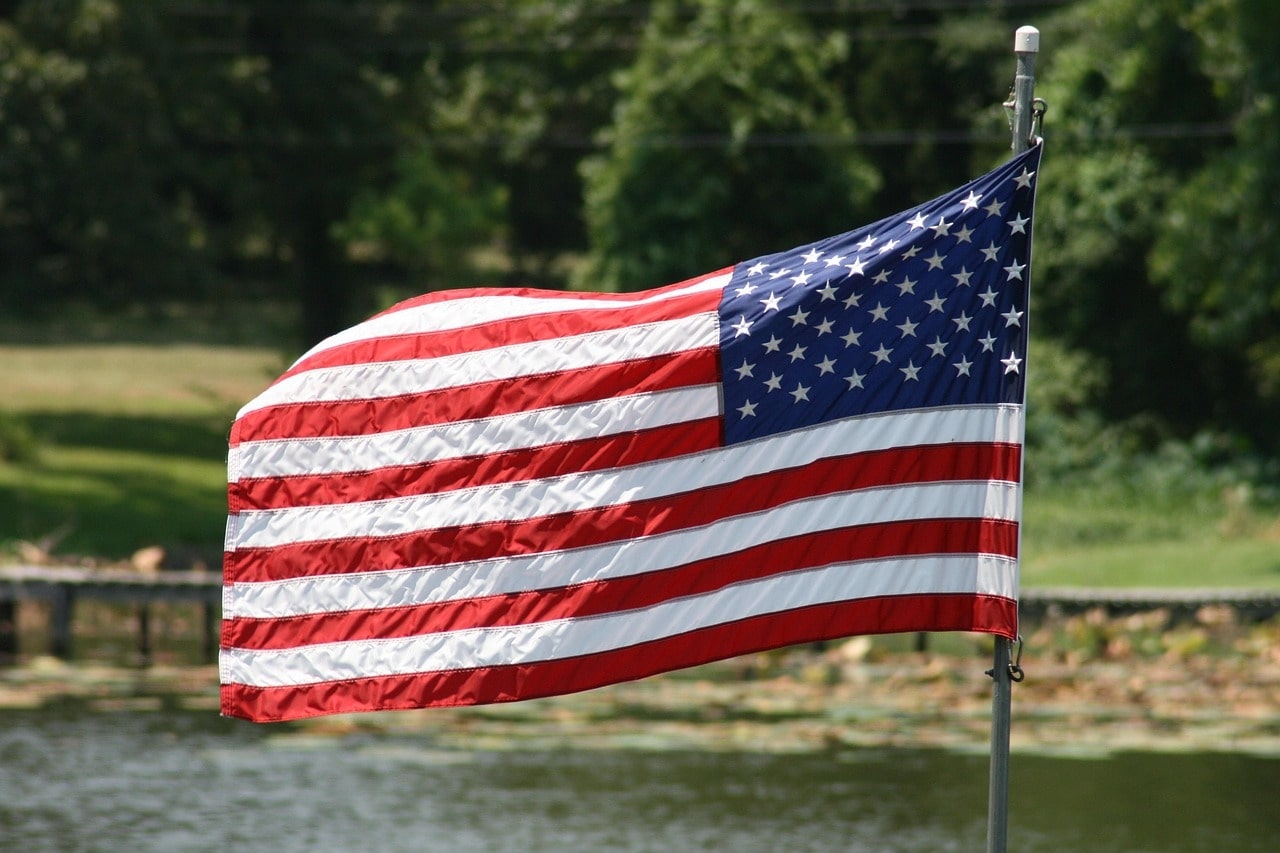
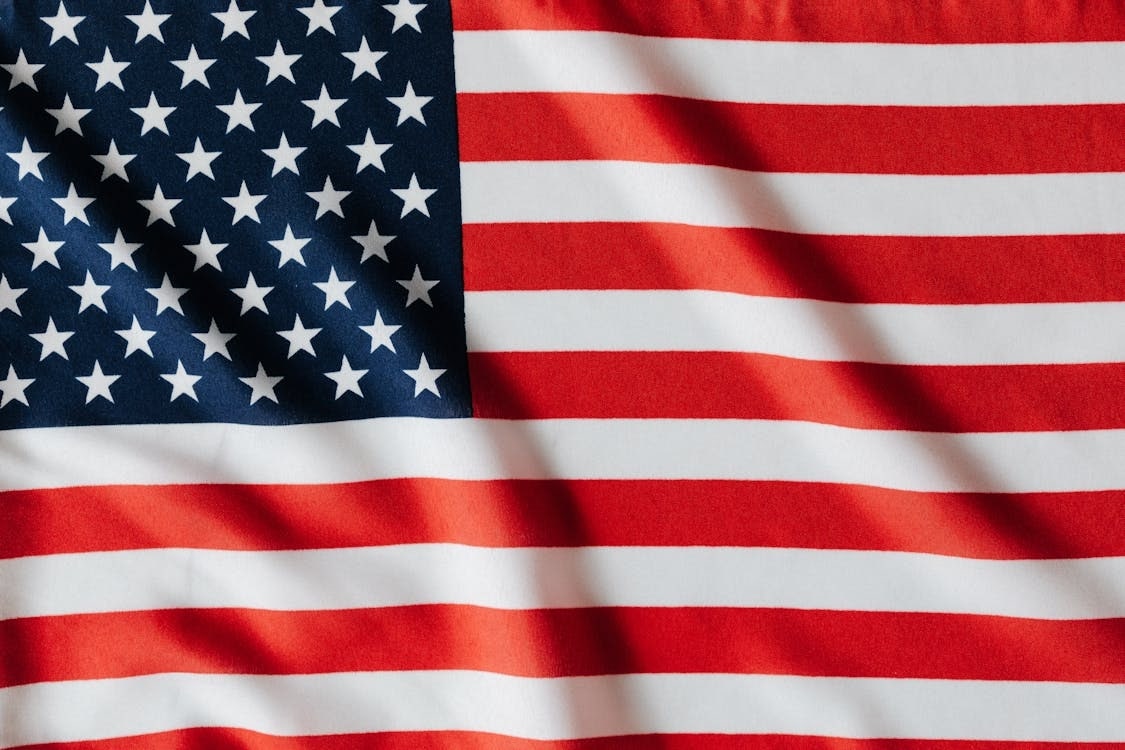
The American flag sticker position holds substantial value in government and military contexts. Improper placement disrespects the military and undervalues official representation. The Patriots must position the flag stars in the upper left of their fabric. Its right sleeve should be in reverse orientation. Sticking a decal with flag etiquette creates impressive products and reinforces national pride.
Determining where and how to place the American flag sticker requires proper tools. Measure the fabric with a ruler and identify the most central position for the label. You may need heat-resistant tape to reinforce the sticker position. Experts recommend a leveled surface free of wrinkles.
4. Heating and Pressurizing the Decal
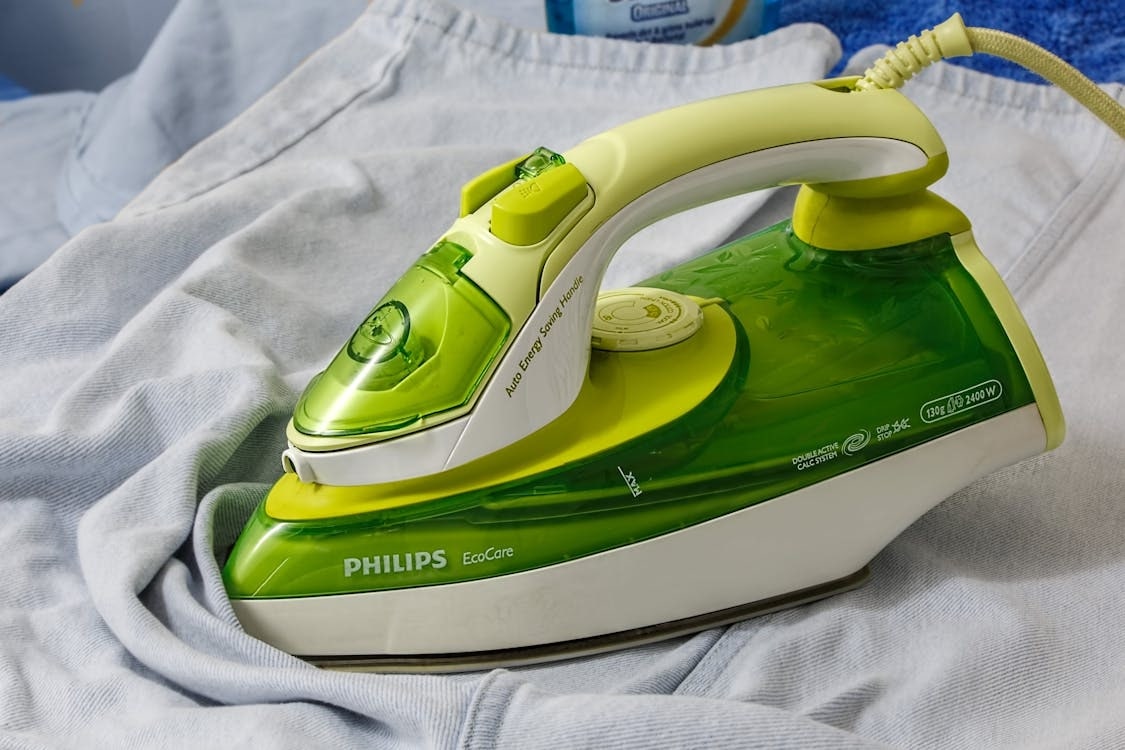
Apply sufficient heat and pressure to your decal to reinforce the bond. The temperature of the iron or heat equipment should be correct. Protect your fabric with a well-fit parchment paper or thin cloth. Apply firm pressure on the decal with a heat or iron press machine. Let the heating machine rest on the decal for several seconds.
The seal should stay unaltered for some time to cool. Remove the backing after the seal cools off. After removing the badge, strengthen the edges by reapplying heat. Allow the heating machine time to sit on the edges to reinforce adhesion.
Be watchful of the condition of the decal reinforcement. You can remove the peel-and-stick backing, ensuring you don’t interfere with the adhesive. The decal position should be strategic. Heat application can reinforce the adhesion. Hand-pressing the decal removes air bubbles to optimize adhesion. Let your decal sit for hours before you wash and reinforce poorly adhered edges.
Proper American Flag Decal Removal Steps
Do you want to remove the flag decal on your attire or items? Perhaps the decal has faded, cracked, or peeled off. Or you may need a fresh style for rebranding or repurposing purposes. The following are steps to streamline American flag decal removal.
1. Identify and Categorize the Decal
Different American flag decals require different removal steps. Iron-on and HTV decals require heating the surface to ease removal. You can pull out peel-and-stick decals manually or rub them with alcohol to pry the adhesion.
2. Iron-on and HTV Decal Removals
Removing iron-on and HTV decals requires heating with a hairdryer or iron. Excessive heating can damage the fabric. Consequently, place a parchment paper or thin clothing over the decal. Apply the heat for 15-30 seconds for the adhesion to loosen. Avoid moving the iron excessively so the residue does not spread further. Hair Dryers require evenly heating the decal across its surface to warm it up and loosen the adhesion. Watch for the edges to lift before you pull out the decal.
Removing the decals requires gently peeling with your fingers or tweezers. Reapply the heat multiple times and continue peeling off. After removing the decal, inspect the affected area for leftover adhesives. Dampen a cotton ball with alcohol and gently rub it on the fabric area with the remaining residue to break the adhesive. You can repeat the process multiple times to remove stubborn glue spots.
3. Peel-and-Stick Decals Removal
Do you have a peel-and-stick stamp on your material? Removing such seals is never a complicated process. However, caution is necessary to ensure the fabric suffers no damage. Strategy one is using an adhesive remover to speed up the exercise.
Apply adhesive remover or alcohol to loosen the adhesion. Once the adhesion is loose, lift the seal from the edges. Wash your decal-free fabric and remove any residues.
Wrapping Up
Proper American flag decal application and removal is a multi-step process. It requires adequate preparation, positioning, and strategy. Proper strategy can help you achieve a durable decal application. The correct steps can ensure your peel-and-stick, iron-on, and heat-transfer vinyl decals are smooth and free of fabric damage.
Use adhesive removers and heat to streamline and speed the removal process. Understanding the decal types makes application and removal easy. Be attentive to avoid making mistakes and achieve a clean job within a shorter time frame.
Read Also: