6 Wood Stain Techniques Enhancing Depth, Colour, and Grain
Staining wood is a simple and effective way to bring out the beauty of wood, while adding character and richness to its finish. Whether you are updating furniture or working on a model project at home, the correct staining method can turn simple wood into a striking visual.
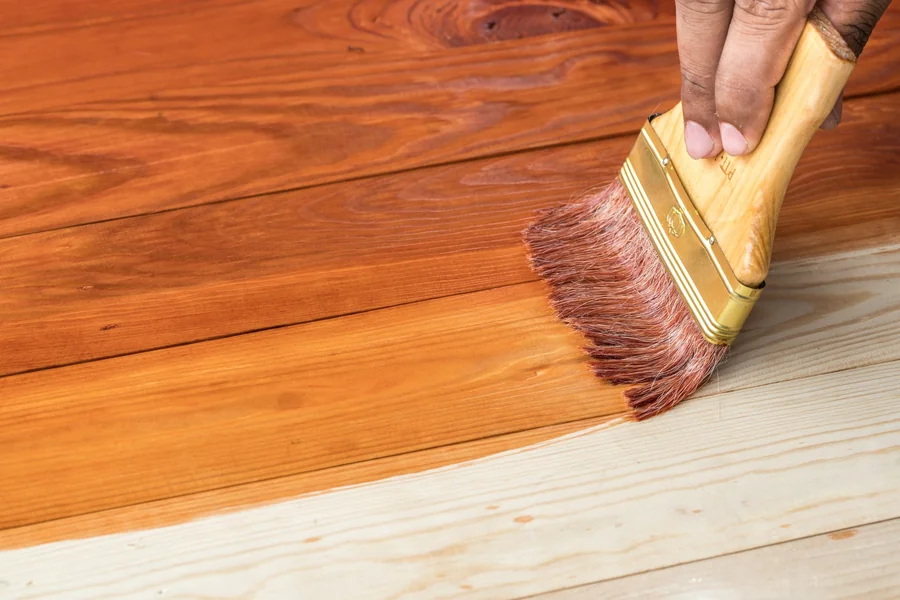
Stains accentuate grain patterns, deepen the natural colour and amplify the wood’s texture. Below are six wood-stain application methods to enhance depth, colour and grain on any project.
1. Pre-Stain Conditioning for More Even Absorption
In order to prevent blotching, it is important to conduct preliminary staining to prepare and let the timber absorb the stain evenly. This will make the canvas smoother, which will allow for more colour penetration.
Conditioning makes it easier for the item to absorb less evenly. It prevents patchiness and contributes to the creation of a finish that is smoother and more even.
2. Layered Staining for Greater Depth and Richness
Resistant colours are produced by building in layers of a slightly stained component to gradually generate depth. The layers add richness, but they don’t mish-mash the natural grain.
This can be a great technique to employ if you want things to look a bit darker or moodier. This is a favourite for many craftspeople when they buy wood oils and stains to be used for fine, detailed work.
3. Wet-Sanding Stain to Smooth the Surface
For a very smooth, shiny finish, wet sanding is a colouring method that includes both staining and fine, wet, or dry sanding. Removing loose wood fibre makes it possible for the stain to penetrate deeper into the grain of the wood.
In addition to this, it conceals minor flaws and enhances the natural grain of the surface of the wood. The result is a finish of greater quality that provides a more professional appearance and is more transparent.
4. Using Gel Stains for Better Grain Control
Gel stains are denser than other finishes, which means that they can be applied to woods that are not conducive to the application of a conventional stain. Additionally, this receptacle is responsible for determining the textural effect that soft pastels deliver to the tooth.
When it comes to the deposit, certain stains also function as “additives,” which means you have a little bit more discretion over how they are applied. Because of its one-of-a-kind quality, gel stain is becoming increasingly popular for use on high-end furniture.
5. Combining Stains for Custom Colour Effects
There are so many different strokes and techniques that can be used when it comes to mixing stains. In that sense, you are also able to choose existing wood or make a special colour, which is your desired one. Mixing the stains you have watched to accentuate the grain without disturbing your background colour; a new idea of home woodwork getting.
6. Finishing With Oil or Clear Coat for Long-Term Protection
A finish after applying a stain keeps the design and the visual depth. The oils and clear coats, however, will add to durability, shine and water resistance.
The top coat will lock the stain in the wood so it won’t fade or wear out like traditional stains. It will also add a finished appearance to your project and maintain the wood’s natural characteristics.
Crafting Timber With Care and Creativity
To sum it up, staining wood is not just simply applying colour, it’s an opportunity to create layers of depth, character and personality in each piece.
Your timber projects will have a professional finish with treatments utilising methods such as block layering, quick drying conditioning, wet sanding, and custom colour blending. With the right techniques and materials, each dot becomes an attribute to celebrate.